Is it still necessary to go out to take passport photos? Learn how to take your own passport or ID photos from home. Say goodbye to expensive, low-quality photo booths and follow our guide to take high-quality passport photos at home.
How to take your own passport photos?
If the photos you want to take are intended for authorities (passport, ID card, driver’s license, visa, student card, etc.), here’s the result you need to aim for:
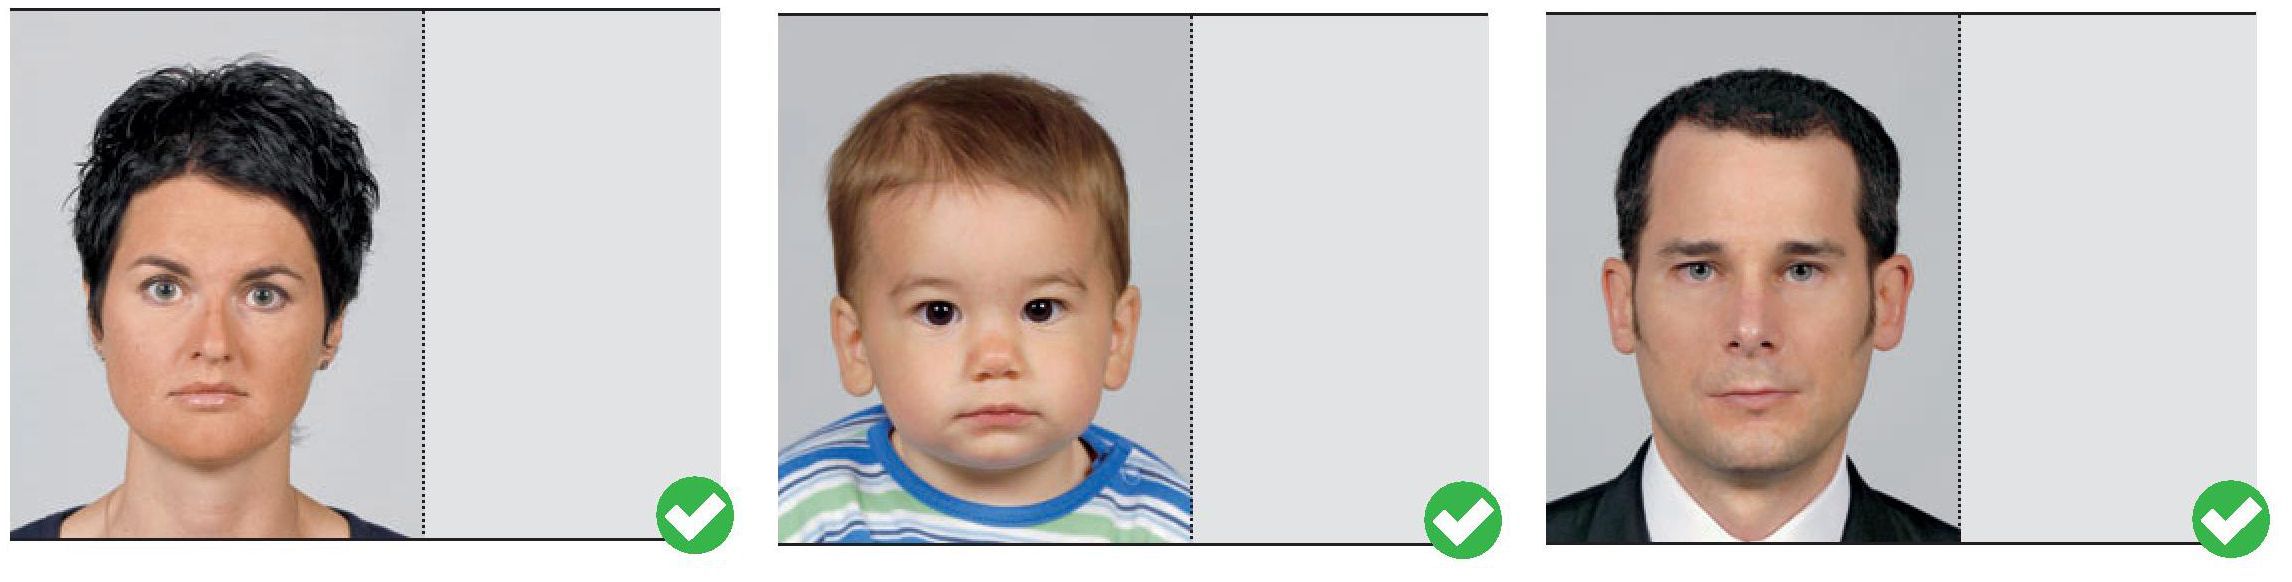
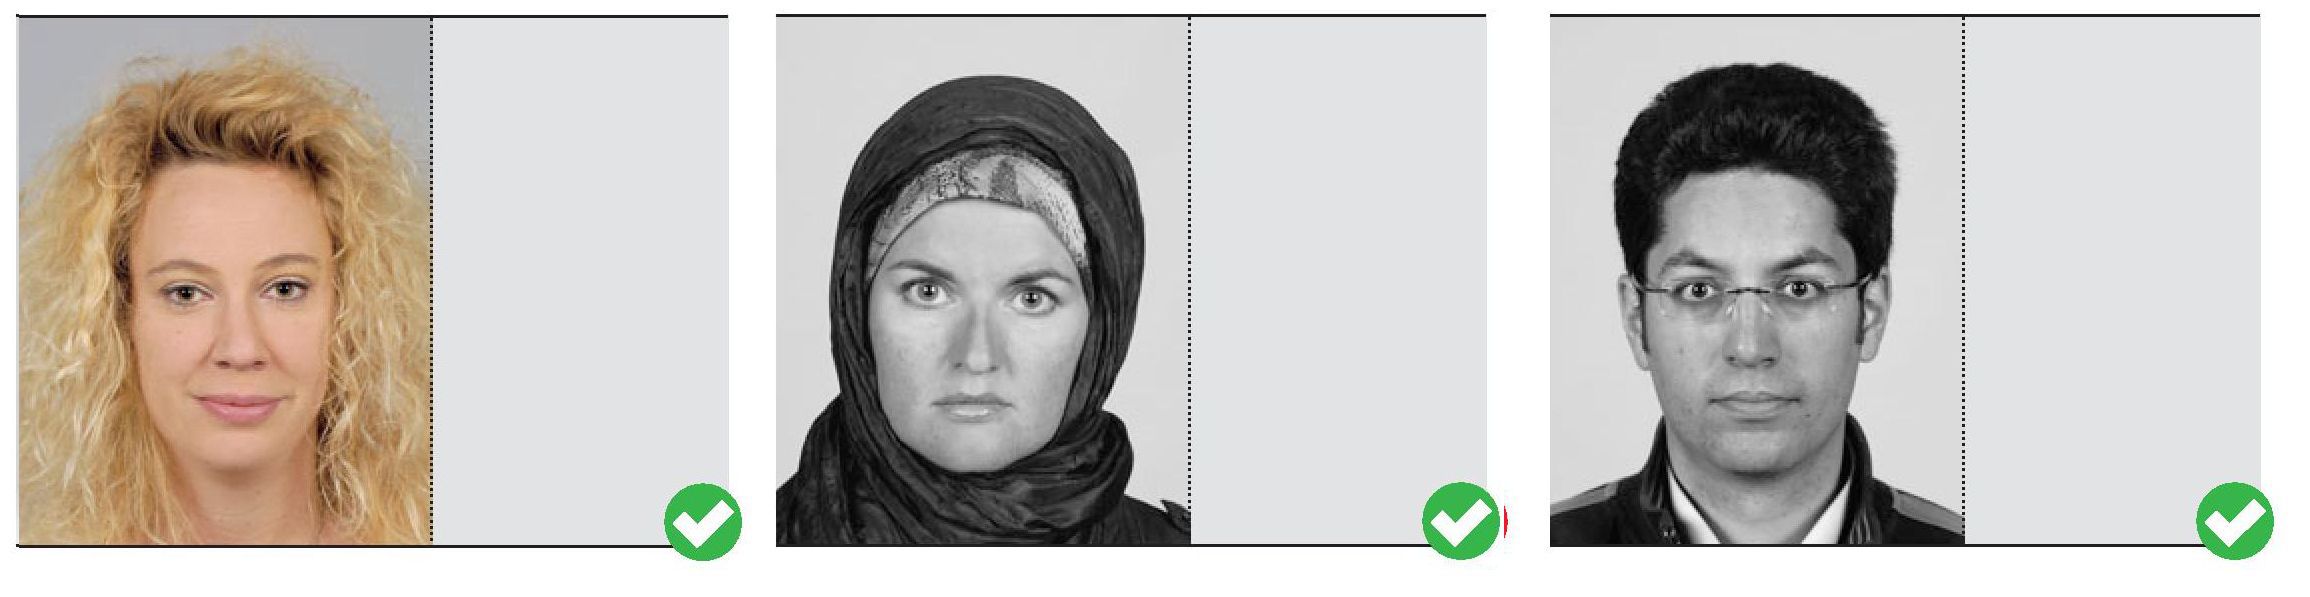
If the photos you want to take are intended for authorities (passport, ID card, driver’s license, visa, student card, etc.), here is the result you need to aim for:
- The background must be neutral and of a solid color
- There are no shadows in the background
- The face is not hidden
- The face is not shadowed
- The face is correctly exposed to light
- The face occupies 80% of the frame
- The shot is frontal
- The eyes are looking at the camera
Obviously, if your photos are intended for fun…forget all this and let your creativity run wild!
Now that the result is known, you can prepare to take this famous identity or passport photo. To take this photo, we advise you to:
- Stand in front of a clear, solid background (a white background should be avoided – often a door or smooth wall will do perfectly). An idea would be to find this decor (clear and solid background) outside. This will avoid the shadow that could appear with the camera’s flash.
- If you have a Reflex-type camera, set it up as follows: aperture priority (f 6.3 minimum to avoid shallow depth of field) and a focal length of about 50 mm (source: photograpix.fr).
- Take the photo with the flash on.
- Have a neutral expression (no smiling, eyes open, looking at the camera, etc.).
- Be about 2 meters away from the camera.
- Frame wide. The framing according to the standards required by the authorities will be done when you load it
How to generate your identity photos with Facebooth.ch?
If you have followed the recommendations in the previous section, you should have a photo that can be used to generate your identity photos. Our solution, facebooth.ch, allows you to create a sheet containing 6 identity or passport photos.
The result will be as follows:

By logging onto Facebooth.ch, you can upload the photo that you want to use as your ID photo. Our system allows you to center the photo, crop the image, and cut only the area that should appear on this ID photo.
After ordering it (CHF 4.90, and we offer a portrait photo, or CHF 3.90 if you like our Facebook page), you will receive an email containing these photos.
What equipment is needed to take your ID photos?
A digital camera, of course (DSLR or not). But honestly, a relatively recent smartphone will do the job perfectly.
How to print ID photos from home?
If you have a high-quality printer, your ID photos will be in your possession in less than 5 minutes. After generating and ordering them, we will send you an email containing a sheet with 6 passport photos. This should be printed in the 10cm x 15cm format. Then, you just need to cut out the ID photo that you need to submit to the authorities.
It is evident that not everyone has a high-quality printer at home. Thus, we recommend that you have them printed online by a specialized company (ifolor, photobox, cewe, M-Print, …). The other option, which is much less expensive, as there are no delivery costs, would be to print them in a printing booth present in all shopping centers and M-Print (Switzerland). The sheet of 6 photos should be printed in the 10cm x 15cm format and should cost you a maximum of CHF 0.50 cents.
The other option is to use the service offered by mailprint.ch to receive the photos generated via Facebooth.ch directly at home. The quality is guaranteed, and the price is unbeatable. You can find all the information about this service on the page Get your Facebooth.ch generated ID photos delivered to your doorstep.
To sum up
Taking your own passport photos is easier than you think. With a little preparation, the right tools, and some simple tricks, it’s entirely possible to do it yourself.
Firstly, it’s important to know the official standards for passport photos, which vary from country to country. These standards may include requirements such as photo size and quality, background, facial expression, etc. You can check out our page to know the specific requirements for passport photos.
Once you understand the official standards, here are the steps to take your own passport photos:
- Find a well-lit place with a neutral background. It’s important that the background is plain and light-colored so that your photos meet the official standards. You can use a white wall (but not completely) or a white sheet of paper as a background. Avoid backgrounds that are too dark or too complex, which could distract from your face.
- Use a tripod or phone stand: To avoid blurry photos from movement, use a tripod or stand for your phone to keep your camera steady. If you don’t have a tripod, you can use a stack of books or another object to keep your phone steady.
- Take your photo: Stand about 1.5 meters away from the camera and look straight ahead. Make sure your face is well-lit and the background is even. Pose with a neutral expression: For most passport photos, you need to pose with a neutral facial expression. Avoid smiling, as this can lead to rejection of the photo by government authorities. Use the timer function to take your photo or ask someone to help you.
- We could tell you that after taking your photo, you can edit it to make it compliant with official standards using free image editing software such as Gimp or Paint.net to resize and crop your photo, but no, don’t waste your time and energy on that (unless you’re an expert with these tools). We especially recommend that you use our online passport photo and visa photo solutions for that.
- Print your photo: Once you have generated your photo sheet with your passport photos, you can print it at home or at a local photo shop. Make sure to print the photo on quality paper and cut it to the correct size.
By following these simple steps, you can take and edit your own passport photos that meet official standards for your identity documents. However, if you prefer a quicker and more professional solution, you can also use online services such as ours to get high-quality passport photos in just a few minutes.
By following these simple steps, you can take your own high-quality passport photos and save money and time. If you find the process too difficult or would prefer to have a professionally taken photo, you can always use online services like FaceBooth.ch to easily and quickly get passport photos that meet official standards.
You may also be interested in
Also find our practical guides and tools to help you successfully take your ID photos, passport photos, and visa photos.